2011 was a great year! We started it off with a wedding... ...where we got to hang out with these fun guys: The next day we found out that our team was expanding. And were thrilled.
The next month we celebrated Scott's 28th birthday with a fun little trip. We took another trip in March, to spend an awesome week in New York with the Singletons. (Whose belly is that?? Actually that's pretty much what it looks like now and there isn't even anyone extra in it. Sad.)
I chopped the mop! We celebrated our cotton anniversary. We got to see Elder Cook throw out the opening pitch at a Dodgers game! We watched my belly get bigger... and bigger... bigger... and bigger! (And my face a little bit too)
Scott finally got into his dream field of work. The sweetest, most beautiful little girl joined our family. And we got to take our cute little chicken trick-or-treating for the first time.
This has been an exciting year for us! We are so grateful for all of our family and friends and all of our wonderful blessings. We can't wait to see what next year has in store for us!
Recently I found a tutorial to transfer a photo onto a piece of wood. I tried it out and it turns out that it's not difficult and it looks great! The video is short and cute but does not explain well, so I ended up having to try several times before I (semi) mastered it. So, watch this video, and then if you want to try it, keep reading below and I will explain more in depth.
*If any of this seems real obvious or too in depth, sorry. I am trying to answer a lot of questions that were posted about the video. And, sorry if some of my pictures are blurry. My camera is somewhat less than perfect (or it's an 8-year-old 5 mp point-and-shoot).*
Materials: Yes, that is my family. I wonder if Dustin had any idea what he was getting himself into that day.
Block of wood Can be any type of wood, actually it doesn't even have to be wood. Any surface that can be painted would work, even canvas. Gel Medium The brand I used was Liquitex, the same as the video. Another brand that I have heard works better is Golden, but I haven't actually used it. Both are sold at Michael's. A photo The photo must be printed on a laser printer (not ink jet). I have heard color works, but haven't tried it. Also, the image will be flipped, so if you have words in it, or are just OCD, make sure you flip it before you print it. Mod Podge Works as a sealant, sold at Michael's. You can use gloss or matte. Other sealants are OK to use but I haven't tried any others. Water A paint brush In these photos you'll see I used one of those cheap foam brushes. A real paint brush will work better but this works just fine if it's all you have.
1st step: Cover your wood with gel medium. You want to apply it liberally (Just to give you an idea of how much gel to use, I made 6 photos and used half of the bottle.) but smoothly. This is where a real paint brush comes in handy. If you use the foam kind it's more likely to look splotchy like mine. If this happens it will still work but it won't look as nice- you get color variations and spots where it's harder to remove the paper.
2nd step: Place your photo facedown on top of the gel medium. It's important when you do this that there are no air bubbles or globs of gel. I found the easiest way to do this was to put the middle down first and then slowly put down the edges while smoothing it:
3rd step: Wait for it to dry. It takes about 4 hours but it's OK to leave it overnight.
4th step: Using a cup of water, start getting your paper wet. Don't be afraid to use too much, you want to thoroughly wet your paper. Keep going until the whole paper is wet. Then, using your fingers, rub back and forth over your picture to remove the paper. In the video, she says to "gently" remove the paper. The term I would use is "carefully." If you rub gently, nothing happens. So rub hard enough to remove the paper but be careful, because sometimes the picture will come off with it. You probably will need to keep re-wetting your paper while working. This part takes a good 15 minutes. Once you're done it will look something like this: Except your family is probably not as crazy.
It still looks fuzzy, and that's OK. It will look better with the mod podge on it. If you're a perfectionist you can keep re-wetting and removing paper. If you are, then wait for it to dry and you will see paper concentrations, but don't expect it to look perfect when it's dry- it won't.
5th step: Apply mod podge evenly over entire surface. You can do this when it is wet or dry, it turns out the same. I prefer to let it dry first so I can make sure there are no big spots of paper in unfortunate places. Once it's covered it will look like this: But when it dries it will look something like this: Except better because your eyes are better than my camera. You can see there are still some spots with paper left, and some small areas (especially around the edges) where the picture has come off. This was OK with me because it gives it a rustic look, but if you spend more time on it you can definitely get it to look nicer.
The entire process can be done in a day, with about an hour of work, and costs about twenty bucks to make several photos.
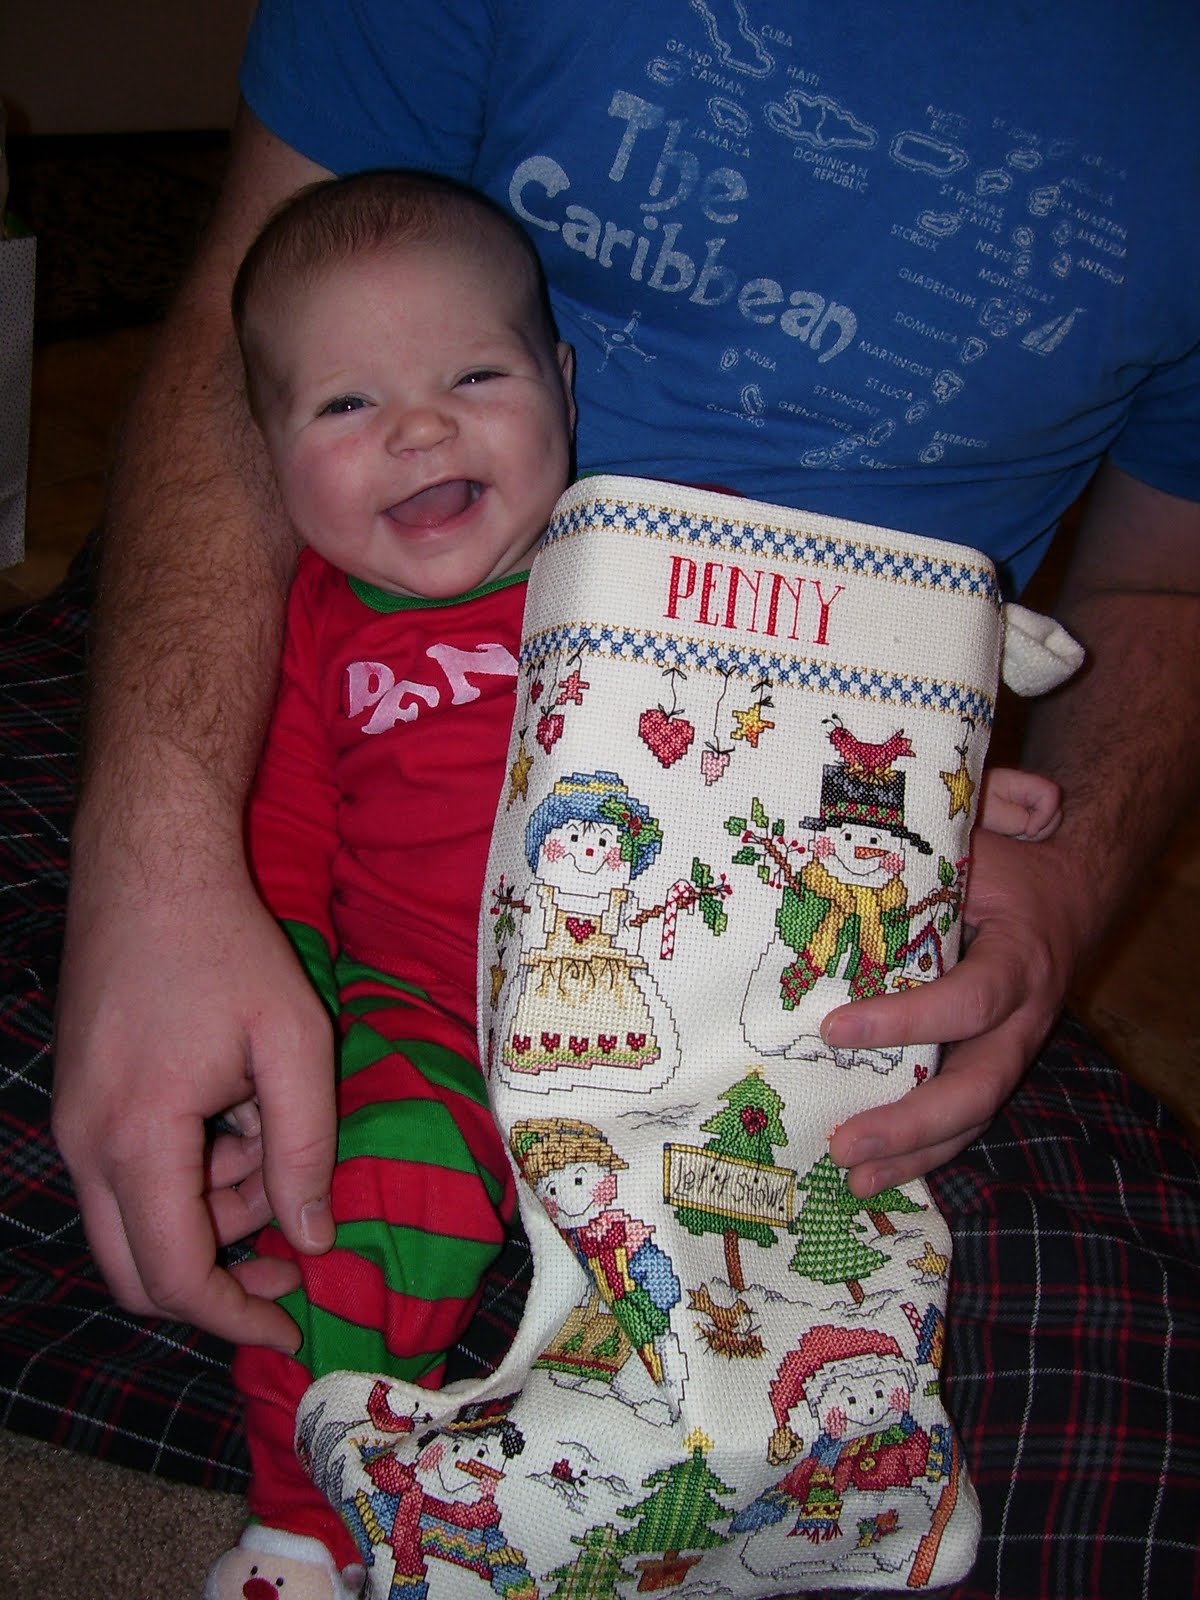
For Christmas my mom got all the grandkids matching Christmas jammies with their names on them: We took this picture of all of these cute little elves wearing them on Christmas eve: My Grandma made all of the beanies. Can you handle it? Penny had a very exciting first Christmas. Here she is opening her first present:
I love her face when she sees it. On the way to church we put it in her carseat with her and she talked to it the whole way there.
Penny is 12 weeks old now- where has the time gone?? She is a really good baby and seriously the funnest toy we've ever had.
She is LOUD. She sleeps loudly and eats loudly and is always talking and making noises- when she doesn't get her way she YELLS at us. I don't think I will appreciate that much when she's older but right now it's so cute all we can do is laugh.
She is miles of smiles! This is her goofy smile- tongue out and one eye closed. She has decided that she is going to be a finger-sucker- like her mom. She's getting good at soothing herself and will suck on her finger or her whole fist when she's upset. She's still not very coordinated and sometimes she will get both fists up in the air in front of her and just stare at them, like she is willing one to get in her mouth. At her last checkup (2 weeks ago) she was 12lbs 8oz and 24 1/2 inches- she is already tall! She's turning into a good sleeper- she sleeps 9-9 (more or less) and wakes up once or twice to eat, and for the rest of the day her schedule is pretty much up an hour, sleep for an hour. She is also getting used to her own bed and will most of the time go to sleep in it without much fuss.
But still loves to sleep on Mommy or Daddy :)
She hated tummy time at first- when I would put her on her tummy she would just scream at me. But now she is getting used to it and will even give me smiles. She is so strong! She's getting really good at holding up her head and can hold herself up on her elbows pretty well.

 ...where we got to hang out with these fun guys:

 We took another trip in March, to spend an awesome week in New York with the Singletons.
 (Whose belly is that?? Actually that's pretty much what it looks like now and there isn't even anyone extra in it. Sad.)
 We got to see Elder Cook throw out the opening pitch at a Dodgers game!
 We watched my belly get bigger...
 and bigger...
 bigger...
 and bigger!
 (And my face a little bit too)